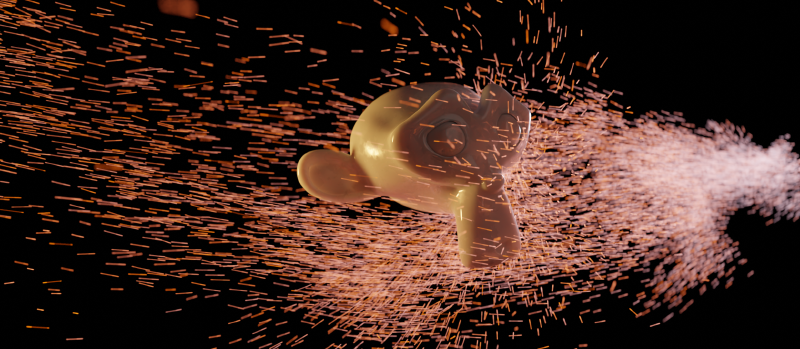
The Problem
Getting perfect motion blur on particles from houdini is something I’ve attempted numerous times now, in fact this is the third article I’ve written where I claim to have “perfected” it, but I think this time its actually true.
What are the criteria for perfect motion blur?
- Subframe deformation blur (NOT velocity blur)
- Point interpolation with changing point counts
- Multiple position substeps per frame (No constraints to linear motion)
Solution
As usual, there are some strange work arounds due to Blender’s limitations.
- Blender can’t interpolate where the number of points is not constant. (I think this is fair enough, I wouldn’t necessarily want software to try automatically fixing this without user control)
- Blender won’t interpolate points on a point cloud, only meshes
We will be making use of the UV sets attribute hack I wrote about previously, so check that article out if you haven’t already!
Creating constant point count
We need to process our particles in houdini so the point count can be constant if we want any hope of interpolation. This is relatively straight forward to do. All we need is to figure out the maximum number of points that exist throughout the lifespan of the simulation, and create a sort of ‘buffer’ with exactly this number of points. Then we just copy position based on point ID. We will also create an attribute to keep track of whether the particle actually exists at this time. That way when a point dies, or hasnt spawned yet, it still exists in our buffer, but with an attribute set so we know not to display this point.
This can be done with a simple SOP Solver, that just keeps track of the maximum point ID. For pop sims, there is also a detail attribute for nextid which we could use, but I’m opting to use a solver so I can use this on point clouds which were not necessarily created via pops
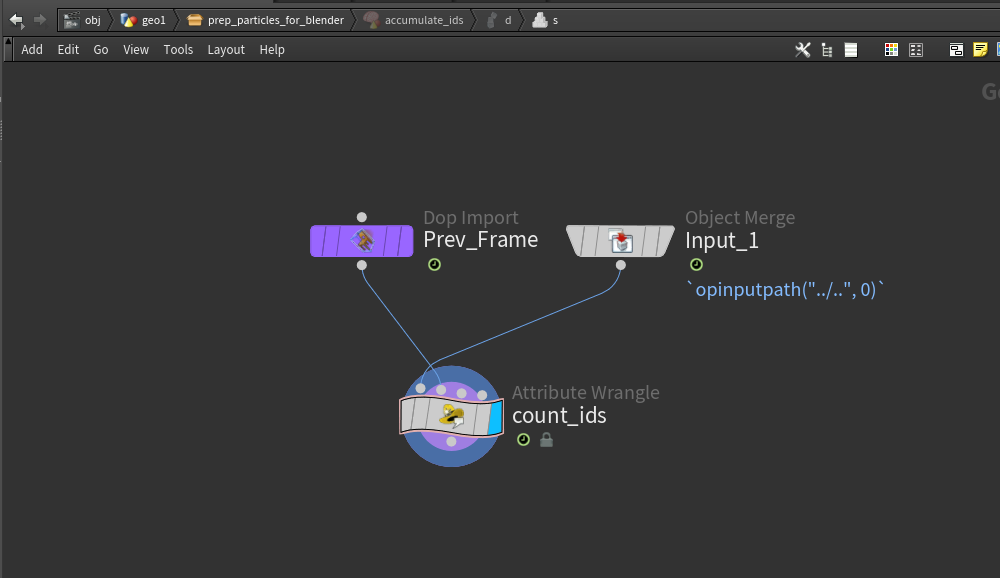
count_ids node is a detail wrangle with the following:
|
|
We are just finding the maximum point ID and storing that in a detail attribute
Then we want to timeshift this to the last frame of our simulation, so that we can grab the maximum ID on the last frame. Then we use this value as the number of points to create for our buffer. We do this with a point generate.
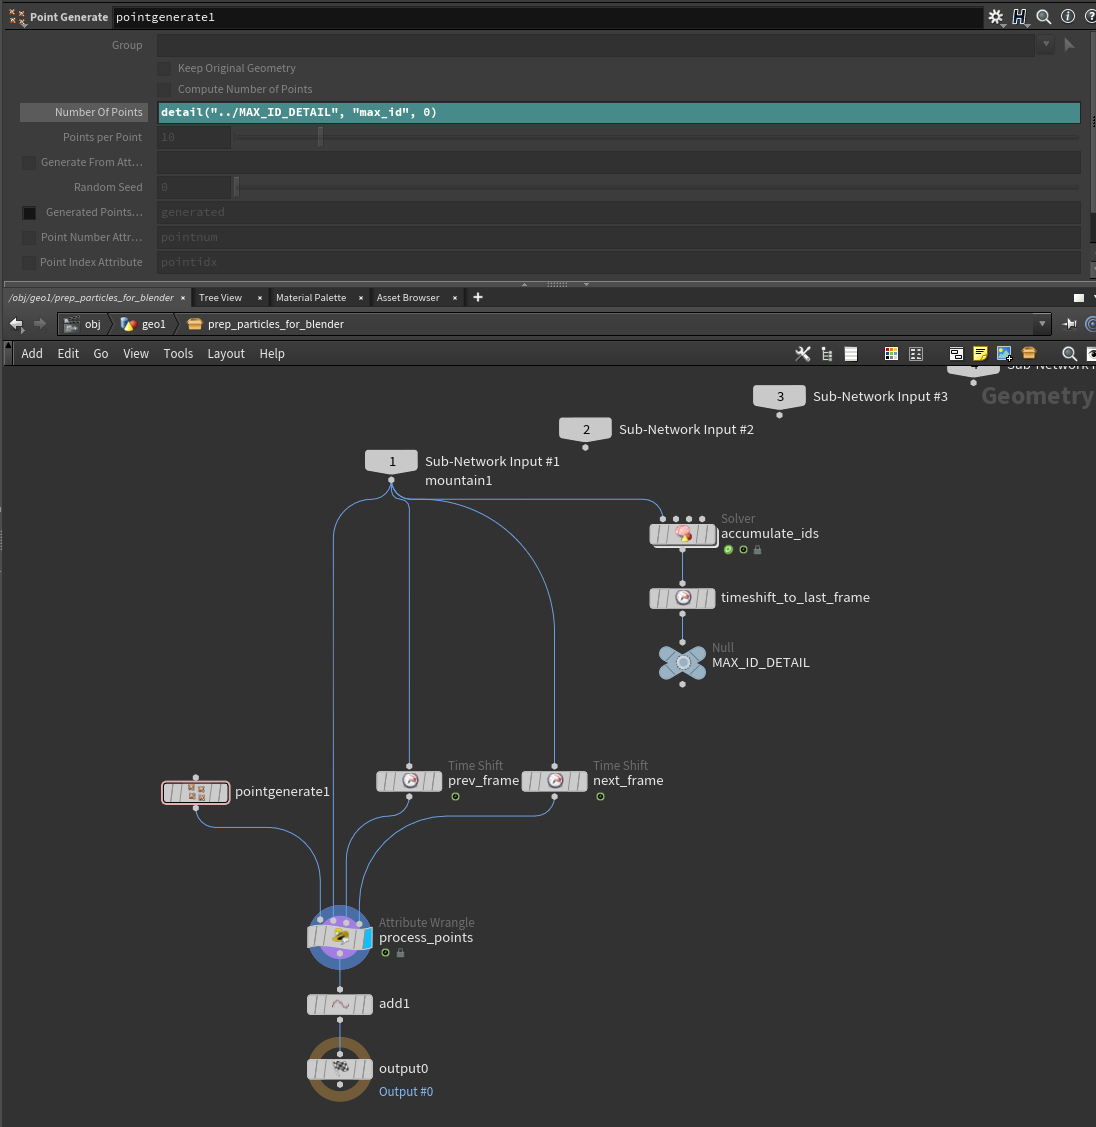
We will then pass this in to a point wrangle, along with two more inputs, which is just the input timeshifted by -1 and +1 frames. This is so we can check if the points exist in the next, or previous frame and copy the point from there. We need to have the point linger around for 1 extra frame either side, so that in the subframes while the point is dying, it doesnt try to shoot back towards the world origin.
|
|
Here we are creating the hidden attribute, which we will use in Blender to hide the extra points that we’ve added. I would also recommend that you transfer any attributes you want to keep on your points here, but for the sake of simplicity I’m leaving this out, as an excersize for the reader :D
Big Polygon
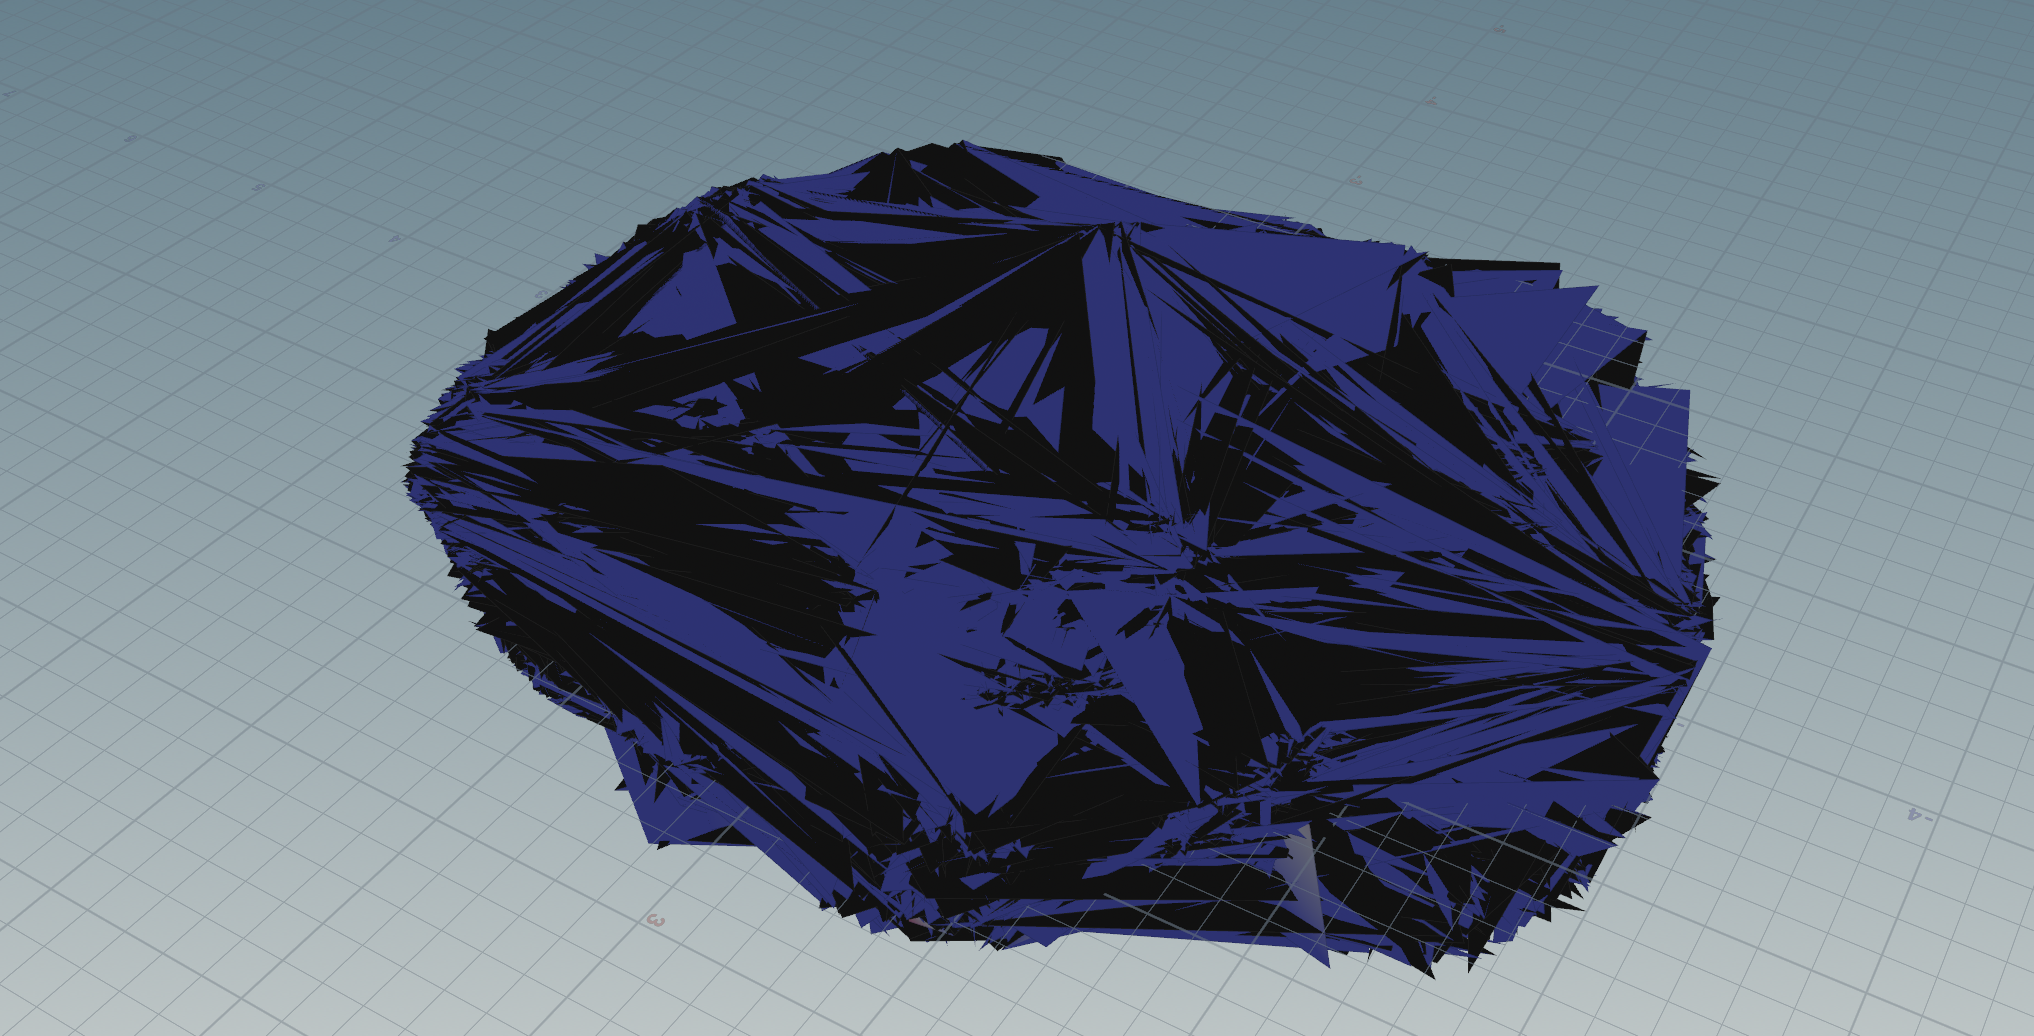
Then the last thing we are doing, in that final add node, is just creating one big polygon containing all the points. This way Blender will properly interpolate points as it will see it as a mesh and not a point cloud. This does have the unfortunate side effect of creating a monstrosity of a mesh, but we will turn it back in to points in Blender.
Exporting
Before exporting to alembic, just use the afforementioned UV sets attribute hack to export the hidden attribute, so we can use that in Blender! Also turn up the motion blur samples on the alembic export, if you have nice subframe detail in your sim.
Importing to Blender
Before you import to Blender, I might suggest that you dont have any viewports open. Blender has a real hard time rendering the big polygon and it will make things super slow. Once we apply some geometry nodes to turn it back in to points it will have no problems!
The geometry nodes setup is super simple!

Then in the shader all you need to do is use that hidden attribute to swap to an invisible shader so it cant be seen!
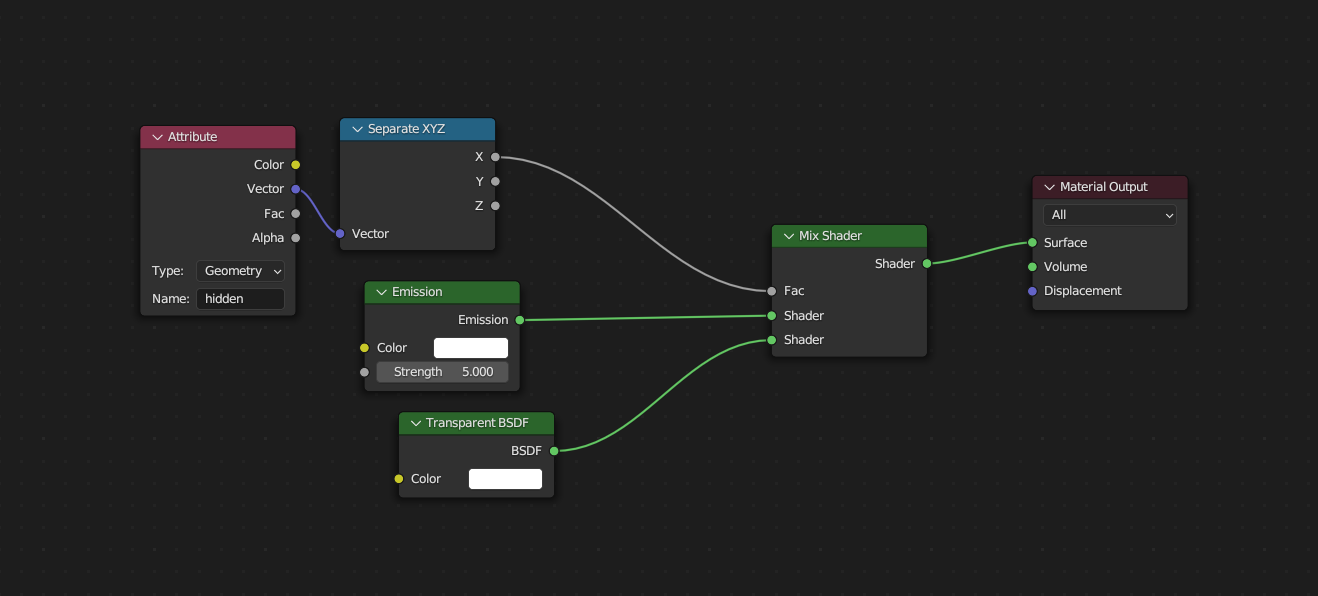
If you have extra motion blur steps in your alembic file, dont forget to also turn up the motion blur steps on the object in Blender!
Improvements
There are a few things which can be done to improve this setup
Transparent Shader Bounces
On frames where a point doesnt exist, the point is usually at the origin. This can sometimes cause issues where there are lots of points at the origin, and the transparent shader starts failing because it hits the maximum ray depth. You can work around this by either turning up the transparent ray depth, or by instead sending each point to a random location so that they arent intersecting eachother while they should be invisible
Extrapolation of Points
On the frames where we are copying the point position from either previous or next frame, you may want to use the velocity attribute to extrapolate the position. This way instead of the point being in the same place for two frames, it will continue to travel a little further during the subframes
